Read on to discover the four essential steps to a flawless ‘touch up’ job.
1. Auto Painting Pros Know How To Find The Right Colour
The first step of the process may be the most important one. First, you need to find the paint code of the car you’re working on. The location of these paint codes vary depending on the vehicle, but are often located on a sticker containing other details about the car like the model number, the date the car was made, and the tire size. During their auto painting careers, professionals learn where various automakers place their paint codes, as most automakers choose one place and stick to it no matter the model.
For example, Ford usually keeps their model sticker in the driver side door jamb, while other brands keeps their model sticker on the ‘fire-wall’ of the car, the area that separates the engine from the rest of the car. These locations can be looked up online as well. The paint code will usually be labelled ‘ext. color,’ or something similar.
2. Auto Painting Pros Know How To Prime The Right Area For Painting
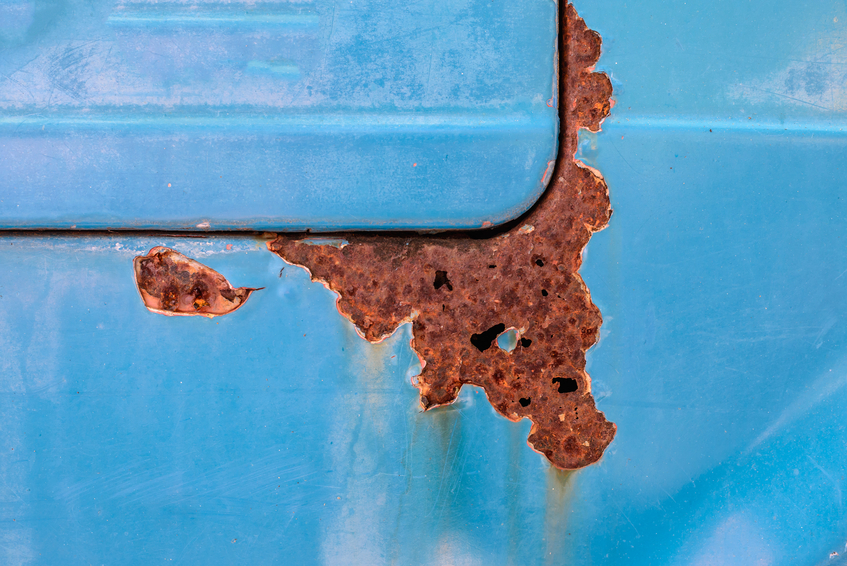
The first step to priming an area is to check for rust spots. Rust can impede an auto painting pro’s ability to apply paint, and can even mess the paint up later on. It’s important to apply a little bit of ‘rust arrestor’ sealer to ensure that rust doesn’t develop underneath the new paint. Once this is done, wash the entire area that you’ll be working with and begin to pre-treat the area. Apply a ‘wax remover’ product to the car and remove any wax. Follow that with a nick sander to remove any loose paint, then sand with number 220 sandpaper and finish this process off with another wash.

3. Pros With Auto Painting Careers Know Primer Is Important Only For Some Touch Ups
If the chip is deep and reaches metal, then primer is needed before the paint job. If the chip or scratch is shallow, primer isn’t needed. Primer is required for deep chips so that the paint doesn’t reach the metal and adhere to it. Spread the primer around with a tiny brush, only use enough for one thin layered coat, and allow it enough time to dry completely before beginning to paint.
4. Auto Painting Pros Know That It Is Now Time To Paint!
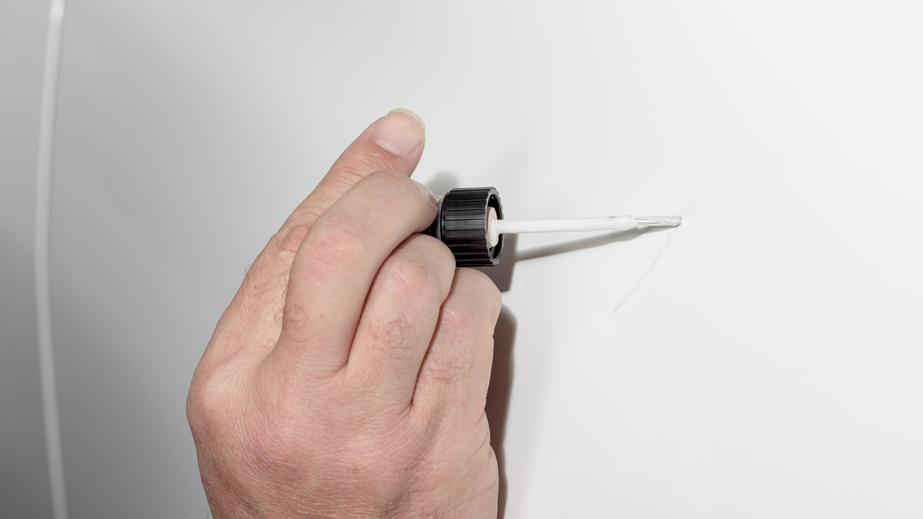
Before proceeding, test the paint colour on a section of the car that isn’t visible, like the small lip under the door. Do this in order to really make sure that the chosen paint colour is the one you need and that it doesn’t react poorly when it dries. If all is well with the chosen paint, shake the paint well and pour a bit into a little dish. Spread two or three layers of the paint on the area. The area that has been painted will look like it is raised a bit, which is how it should look. Wait 24 hours before sanding the surface with 1,000 grit sandpaper, then 2,000 grit, and finally 3,000 grit paper. These papers are all super-fine and won’t damage the surface. Finally, pros with auto painting careers finish the job by washing and waxing the entire automobile.
Want to see if training in automotive industry painting techniques is right for you?
Contact an advisor today to find out more!

