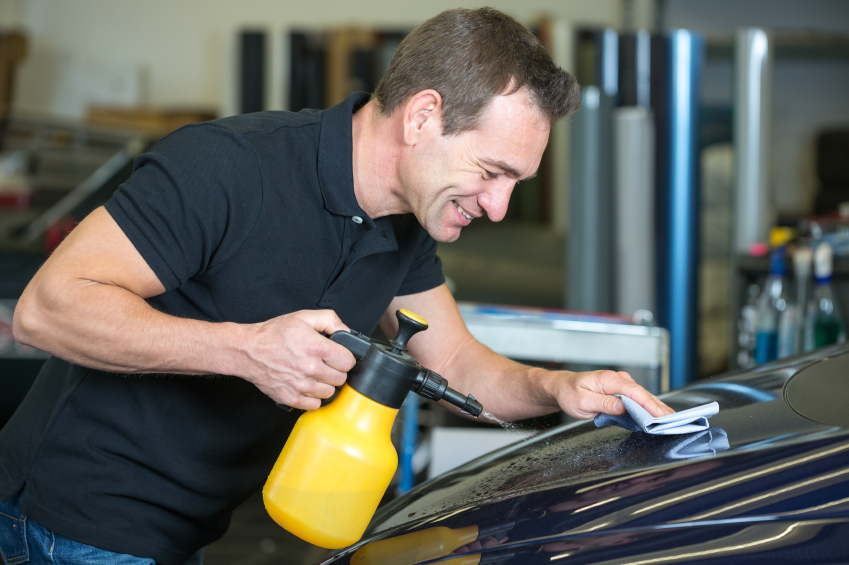
Detailing clay is one of the most innovative products on the auto detailing market, because it’s designed specifically to remove bonded surface contaminants that can’t be removed with normal car washing. As detailing clay glides along the paint, it picks up particles like brake dust, paint overspray, and road grime—all of which can remain stuck on vehicles through rain, car washes, and even the polishing process.
If you’re planning to pursue an auto detailing career, read on to find out which five simple steps experts follow when they clay a car. Please note that the following steps should always take place after a car has been properly washed and dried.
Step 1: Check the Paint Surface Before Using Auto Detailing Clay
Before claying a car, you’ll need to determine which areas of the paint need to have contamination removed. The simplest way to do this is by running your hand over the bumper, wheel wells, hood, door panels or anywhere you feel may have the most build-up. Contamination can be felt by touch; it will have a rough, sandy, or grainy texture.
Some auto detailing experts recommend putting a plastic bag over your hand as you run it along the paint’s surface. This will amplify the sensation of contamination that’s bonded to the paint and give you a better idea of where to use detailing clay.
Step 2: Prepare Your Auto Detailing Clay for the Job
Detailing clay is typically available in 2-8 oz. bars, but you’ll learn during your auto detailing training that a little bit goes a long way. Two ounces of clay is generally enough to handle the contamination on three to four vehicles. This means that you can cut a clay bar into smaller sections in order to get the most use out of each bar. After cutting off a section you can flatten it into a useable piece.
Step 3: Lubricate an Area before Applying Auto Detailing Clay
Lubricant is essential during the claying process because it will allow your clay to move freely without sticking to the paint. You’ll learn that when using detailing clay on a car, it’s best to work in sections because some areas will have more grime than others. To get started, you’ll need to spray the lubricant with the help of a spray bottle onto an area of only about 2 square feet.

Step 4: Use Back & Forth Motions When Applying Detailing Clay
Once an area’s lubricated, you can begin rubbing it with clay in short back and forth motions. At first you’ll likely feel the clay grab onto the paint rather than slide freely, which is a sign that it’s pulling out contaminants. The clay will glide freely over the area once the paint is clean.
Once one area is clean, you can move onto the next section, repeating the lubricating and claying steps until the entire vehicle is clean.
Step 5: Apply an Auto Detailing Sealant
Contaminants can sometimes leave behind tiny holes when they’re pulled out of a paint job’s clear coat. In order to protect paint from corrosion during your future auto detailing career, you’ll want to make sure to follow a clay treatment by applying a wax or sealant to even a car’s finish, which will fill the holes and keep the paint protected.

Visit ATC for more info on our programs, or to speak with an advisor.

