A Guide to Engine Cleaning After Auto Detailing Training
After completing your auto detailing training, you’re equipped with the skills to transform vehicles inside and out. One of the most overlooked yet impactful aspects of auto detailing is engine cleaning.
A clean engine enhances the vehicle’s aesthetic appeal and helps maintain its performance and longevity. Here’s a comprehensive guide to engine cleaning after your auto detailing training.
Why Engine Cleaning Is Important
As you’ll learn in auto detailing training, engine cleaning is crucial for several reasons:
1. Aesthetic Appeal: A clean engine bay enhances a vehicle’s overall look, making it more attractive, especially if you’re preparing it for sale or a show.
2. Maintenance: Removing dirt, grease, and grime can help spot potential issues like leaks or worn-out parts early on, which can prevent costly repairs.
3. Performance: A clean engine may run cooler and more efficiently, as debris removal can improve airflow and heat dissipation.
Tools and Supplies Needed
Before you start, gather the necessary tools and supplies:
- Degreaser: A high-quality degreaser to break down oil and grease.
- Plastic Bags and Tape: To cover sensitive components like the alternator, air intake, and electrical parts.
- Brushes: Various brushes, including soft, medium, and stiff bristles, for different cleaning needs.
- Pressure Washer: Ideally, use a lower setting to avoid damaging delicate parts.
- Microfiber Towels: For drying and wiping down components.
- Protectant: To be applied on rubber and plastic parts after cleaning.

Auto Detailing Training Step-by-Step Engine Cleaning Process
1. Preparation
- Cool Down the Engine: Ensure the engine is cool to the touch before starting. Cleaning a hot engine can cause damage or injury, as our auto detailing courses emphasize.
- Cover Sensitive Components: Use plastic bags and tape to cover the alternator, air intake, battery, and any exposed electrical components. This step prevents water from causing damage.
2. Initial Cleaning
- Remove Debris: Start by removing loose debris like leaves and dirt with a brush or hand.
- Apply Degreaser: Spray a generous amount of degreaser on the engine, focusing on areas with heavy grease buildup. Let it sit for a few minutes to break down the grime.
3. Scrubbing
- Agitate the Degreaser: Use brushes to scrub the engine bay. Soft brushes are ideal for delicate parts, while stiffer brushes can tackle stricter grime.
- Detailing Brushes: Detailing brushes can be very effective for tight spaces.
4. Rinsing
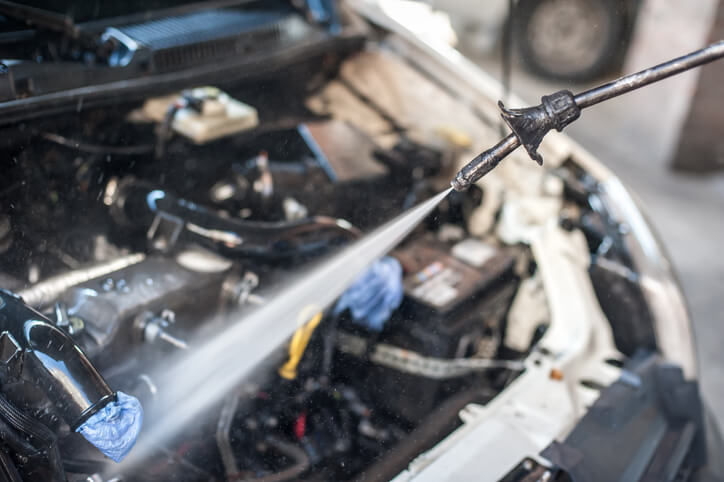
- Pressure Washer or Hose: Rinse off the degreaser with a low-pressure washer or a garden hose. Be careful not to spray directly at covered components.
- Repeat if Necessary: If some areas are still dirty, reapply the degreaser, scrub, and rinse again.
5. Drying
- Remove Plastic Covers: Carefully remove the plastic bags and tape.
- Dry with Microfiber Towels: Use microfiber towels to dry the engine components. Compressed air can also be used to blow out water from tight spaces.
- Let it Air Dry: Leave the hood open to let the engine air dry completely.
6. Finishing Touches
- Apply Protectant: Apply a protectant to rubber hoses and plastic parts to prevent cracking and give them a nice shine.
- Final Wipe Down: Wipe down the engine bay with a clean microfiber towel to remove any remaining moisture or residue.

Safety Tips
- Wear Protective Gear: Always wear gloves and safety glasses to protect yourself from chemicals and debris.
- Ventilation: Ensure the area is well-ventilated to avoid inhaling fumes from the degreaser and other cleaning agents.
- Follow Manufacturer Instructions: Adhere to the instructions on all cleaning products to avoid damage and ensure safety.
Are you interested in automotive training?
Contact ATC Cambridge for more information.


