A Guide to Servicing Hubs and Bearings After Automotive School
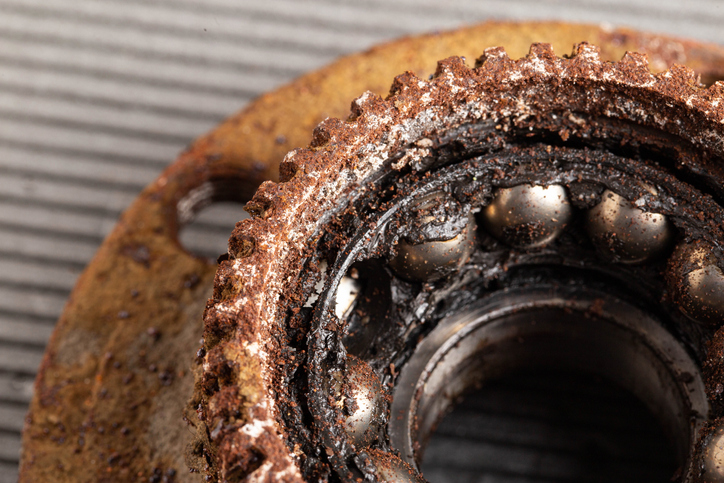
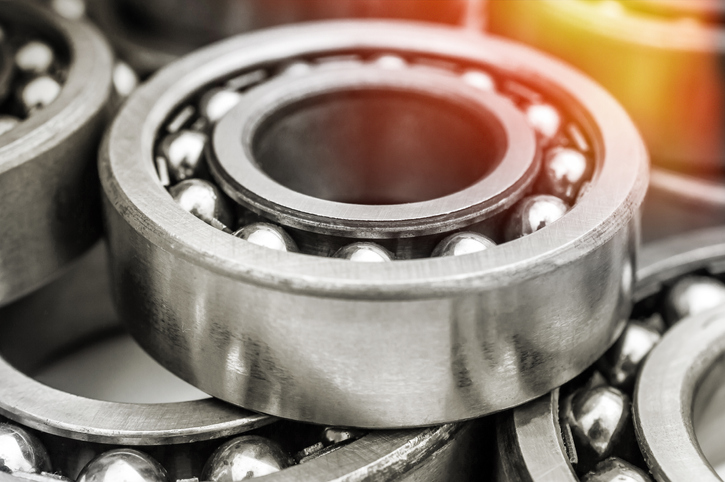
Servicing hubs and bearings is a crucial skill for any mechanic to have. The hubs and bearings connect to a car’s wheels to reduce friction as the wheels rotate. They are a resilient part of the wheel system, but when broken, can cause damage to the brakes and wheels. In fact, if left unrepaired, they can cause the wheel to stop moving while the car is driving, causing safety issues for the driver and damage to the wheel system.
If you decide to pursue auto mechanic training, you’ll gain the hands-on experience needed to service all of a vehicle’s major systems. Read on to learn more about servicing hubs and bearings after automotive school.
Signs to Watch For When Checking the Wheel Hub
When you begin your auto mechanic career, a client may tell you about problems they’re experiencing that may point to broken hubs and bearings. Some signs you should listen and watch for are:
- Humming noises when speed is increased
- A loud whining while the vehicle is moving
- Clunking noises when driving over an uneven surface
- The vehicle is pulling to one side
- The steering feels loose
- The anti-lock brake warning light is on or turns on sporadically
- Vibrations can be felt while driving
Auto mechanic training will provide you with the in-depth knowledge you need to be able to easily and quickly spot warning signs such as these in vehicles.
Repairing Hubs and Bearings After Auto Mechanic School
Once you’ve completed your auto mechanic training, you’ll understand the process of dismantling the wheel system and repairing the hubs and bearings. When servicing hub bearings, use caution to keep yourself safe and keep the hub bearings intact. The system can be intricate, with essential components inside.

Once you become a mechanic, you’ll understand the importance of always using a torque wrench to tighten or loosen the hub correctly. An under-torqued or over-torqued wheel hub shortens its lifespan.
When the hub bearings are off, clear away any debris from the flat mounting surface. Make sure to remove any rust as well. While this may seem trivial, even the most minor imperfection could cause problems over time.
If you’re replacing a hub bearing, remember to replace it with one that’s made of high-quality steel with triple-lipped seals. By doing this, you not only ensure that your customer is safe but that the system lasts longer.
Through your in-class and hands-on lessons at automotive school, you’ll learn all you need to know about adequately servicing hub bearings.
Remember to Check the Vehicle’s Brakes
Replacing hub bearings is an excellent time to check the brakes because once they are removed, you’ll have a good view of the brakes. Inspecting the brakes can take a little while, so if you’re removing the hub bearings already, checking the brakes while you’re in that area will save you time further down the road.
When inspecting the brakes, the brake pad’s friction material should be thicker than two millimetres, any less than that, and the brake should be replaced. If the brake is not replaced, it will start to lose its effectiveness. You’ll also want to make sure to clear away any dust and small particles surrounding the brake pad. Removing this debris is easy and prolongs the life of the brake.

In auto mechanic school, you’ll learn all you need to know to repair vehicles and all of their intricate systems effectively.
Are you ready to begin auto mechanic school?
Contact ATC Cambridge to learn more about our programs.


