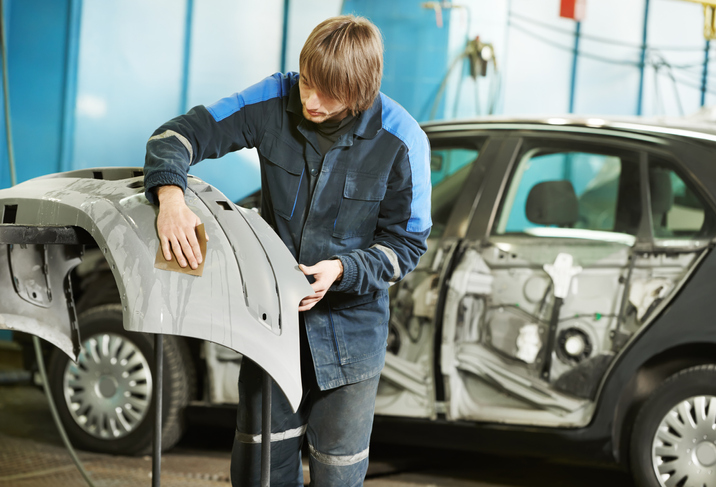
Becoming an Auto Body Repair Technician? Learn About the Bumper Replacement Process Here!
Life on the job as an auto body technician is quite the experience as you come across all different types of issues to resolve. Your expertise in your field coupled with your extensive hands-on training will prepare you to take on each challenge with confidence and pull together the pieces to solve the issue at hand.
Many vehicle owners may think that a damaged bumper is simply a cosmetic issue. However, as a repair technician, you know better than anyone that a damaged bumper can cause a major lack of protection for any driver. The bumper acts as a protective barrier for the vehicle, and when damaged, can’t provide that same layer of protection. Let’s take a look at the process for bumper replacement.
First, Auto Body Repair Technicians Disconnect the Electrical Components
When you begin the task of replacing a bumper for a client, you will want to first start by inspecting the damage on the bumper involved in the collision. Identifying the dents, hairline fractures, and other points of damage as an auto body repair technician will allow you to make the necessary repairs and determine if there is any other underlying damage.
Once you’ve identified the damage, you will want to collect any additional parts that you have rendered unusable so that you can replace them at the same time. Then you should start disconnecting the electrical components attached to the bumper so you can successfully remove it. You’ll need to disconnect electrical wiring for the head or tail lights, any wiring for airbag sensors or lane-change warning sensors, and wiring for the backup camera, if the vehicle has one.

Next, Auto Pros will Remove the Damaged Bumper
After disconnecting the attachments, you can begin to remove the bumper and the additional components. You can loosen and remove the mounting bolts that attach the bumper to the frame, and gently remove the damaged bumper. Auto body technician careers require great dexterity and attention to detail, and this task is no different.
Be sure to carefully remove the other components at this time, trying not to damage any that haven’t been affected by the collision. Double-check that you have the correct model for the new bumper so that you don’t run into any issues during reattaching. Once you’re certain this new bumper will work, you can start attaching the additional components and prepare to reattach the bumper to the vehicle. Try to keep the attachments in the same position as they were in on the old bumper to ensure that it will attach correctly.
Finally, An Auto Body Technician will Reattach the New or Repaired Bumper
If you had to replace any internal components due to damage, make sure you attach them before putting on the new bumper. Before you reconnect the electrical components, you will first attach the bumper to the vehicle. You can do this by aligning it with the holes on the frame and using the mounting bolts to secure it to the car. Be sure to tighten the bolts according to the manufacturer’s instructions.

After the new bumper is attached, you can rewire the electrical components and make sure each function is working properly. Check that the headlights or taillights and sensors are all functioning before you move forward. Once you confirm that the components are in good shape, you can attach the bumper cover and send the car on its way.
Interested in auto body technician training?
Contact ATC Surrey to learn more about our programs.


