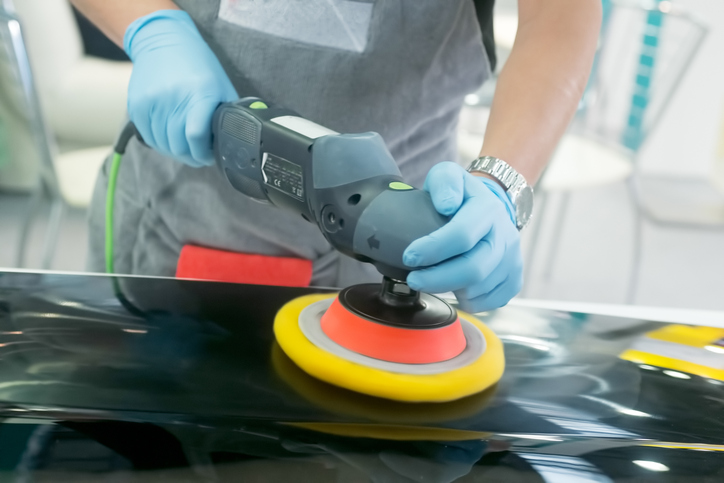
Car paint correcting removes small marks that are present on the surface of a vehicle. Typically, these tiny swirls and scratches accumulate over time, resulting in a “spider-web” effect when the vehicle is exposed to direct light. These marks are caused by factors ranging from tiny road debris striking the vehicle, to objects brushing the car, poor maintenance techniques, or automatic carwashes.
Removing these marks involves a combination of careful cleaning, polishing, and waxing. Here are some crucial points to bear in mind when approaching car paint corrections once you become an auto refinishing prep technician.
Grads of Car Painting Courses Know to Begin by Thoroughly Cleaning the Car’s Surface
Before you begin the process of paint correcting, you should begin with a thorough wash and dry of the vehicle. Next, you’ll want to clean the car even more by using a soft ‘clay bar’. This key step consists of spaying the vehicle’s surface with a lubricant and then carefully wiping the surface with soft detailing clay, which picks up any contaminants still present on the car. This will remove the particles and residues that can elude the human eye. Only when this is completed can further corrective steps be carried out.
Auto Refinishing Prep Technicians Sand, Polish, and Buff Away Scratches
Once the car has been thoroughly cleaned, you will need to flag any particularly severe scratches, making the call on if a wet sanding process is needed. Wet sanding uses specialized sandpaper with an ultra-fine grit. It is used to remove the clear coat over the paint, which you will need to do before employing sequential stages of buffing and polishing to steadily restore shine and lustre.
When removing shallower ‘spider web’ scratches, on the other hand, you won’t need to go through the extra step of wet sanding. Once you become an auto refinishing prep technician, you can simply remove these scratches by polishing and buffing the car. However, the particular circular nature of these imperfections is an important aspect to consider. These imperfections stand out because their shape captures and reflects sunlight from any angle—making them especially visible. By scrutinizing the upper clear coat on the paint and the imperfections that are present, and then carefully buffing and polishing the car, this spider-web pattern of small marks can be erased.
Once Scratches Have Been Smoothed Away, Apply a Protective Wax Coating
Grads of car painting courses know that smoothing away imperfections is only part of the work included in paint correction. It’s also important to add a protective coating to the surface of the vehicle to make sure that the work completed doesn’t become undone just a few weeks later.
To help protect the surface of the vehicle, apply a protective wax coating. Gently apply the wax to the car using small, circular motions. Then, once the wax has set, gently wipe it away to reveal a smooth and glossy finish. Once this final step has been finished, the car’s paint will look good as new.
Auto painting careers perfecting top-of-the-line vehicles can be highly rewarding.
Contact Automotive Training Centres to get started.

