Journey of an Insurance Claim for Students in Collision Estimating Training
Mastering the nuances of insurance claims allows students in collision estimating training to provide accurate estimates and ensure that vehicle repairs are processed efficiently. But what exactly happens after a car accident? How does an insurance claim move from the initial report to the final payout?
In today’s blog, we’ll walk through the journey of an insurance claim, breaking down each step for students pursuing careers in auto body estimating. If you’re curious about how this process works, keep reading!
Step 1: Reporting the Accident
The insurance claim journey begins when an accident is reported. After a collision, drivers contact their insurance company to inform them of the incident. The insurance company will typically gather important details such as the date and time of the accident, the location, the vehicles involved, and any potential witnesses.
As a future collision estimator, you’ll need to know what information is required from drivers and how this data impacts the rest of the claims process.
Step 2: Inspection and Initial Estimate Leveraging Your Collision Estimating Training
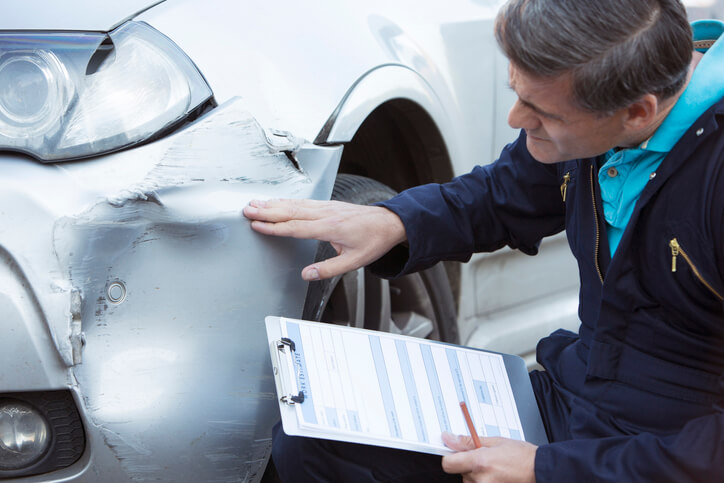
Once the insurance claim has been filed, the vehicle involved in the accident is typically inspected to assess the damage. This is where your role as a collision estimator comes into play. As an estimator, you’ll be responsible for evaluating the damage and providing an initial estimate of the repair costs.
The insurance company may send an adjuster to inspect the vehicle and create an estimate. However, some insurance companies rely on auto body shops or collision estimators to provide these estimates on their behalf.
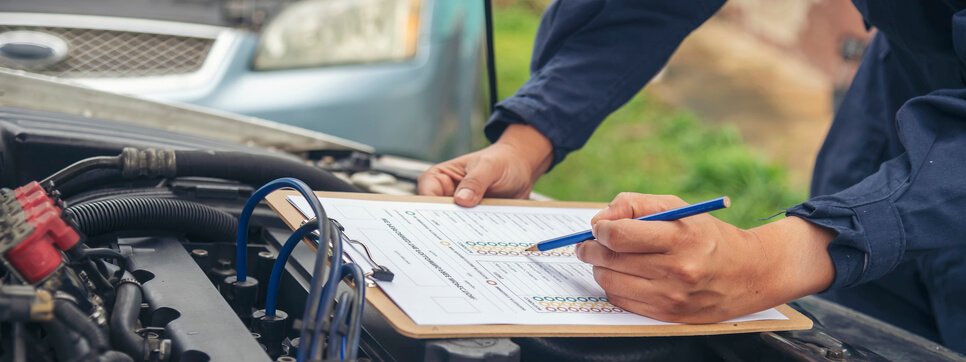
Your job is to assess the extent of the damage, document it accurately, and generate a detailed report that outlines the repair costs. This step is vital because it forms the basis for the insurance payout. During your collision estimating training, you’ll learn how to inspect damaged vehicles, identify hidden damage, and use specialized software to create precise estimates.

Step 3: Approval and Authorization
Once the initial estimate is submitted, the insurance company will review it to determine whether it aligns with its guidelines and policy terms. They may approve the estimate as-is or request adjustments based on their findings or company policies.
Communication is key in this step. As a collision estimator, you’ll need to communicate effectively with the insurance adjuster and the auto body shop to ensure everyone is on the same page. Clear communication helps prevent delays and ensures that the repairs can proceed smoothly.
Step 4: Repair Process
After the insurance company authorizes the estimate, the vehicle is sent to the auto body shop for repairs. At this point, the auto body shop will begin the repair process based on the estimate provided. A supplemental estimate may be required if additional damage is discovered during the repair.
This step highlights the importance of accuracy in the initial estimate. During your auto body estimating training, you’ll learn to identify potential issues that may not be immediately visible. Being thorough in your initial assessment can help avoid complications later in the repair process.

Step 5: Final Inspection and Payment
Once the repairs are completed, the insurance company may conduct a final inspection to ensure the vehicle has been restored to its pre-accident condition. After the inspection, the insurance company will pay the repairs directly to the auto body shop or the vehicle owner, depending on the arrangement.
For collision estimators, this final step is a testament to the importance of detail-oriented work throughout the process. Accurate estimates and thorough documentation ensure that the repairs meet the insurance company’s standards and the customer is satisfied with the results.
Are you looking for comprehensive automotive training?
Contact ATC Surrey for more information.


