Older vehicles typically had emblems bolted on, so removing them only required a screwdriver. Today, though, most automakers use strong adhesives or double-sided tape to get them to stay in place, so removing them requires a little more work. The advantage of removing emblems that are bonded by adhesives is that you won’t need to patch up any holes left in the auto body once you’re done.
If you’re planning to start a career in auto body repair, read on to learn the steps used to remove car emblems and provide vehicles with a fresh, unique look.
The Rights Tools Can Help You Remove Emblems During your Career in Auto Body Repair
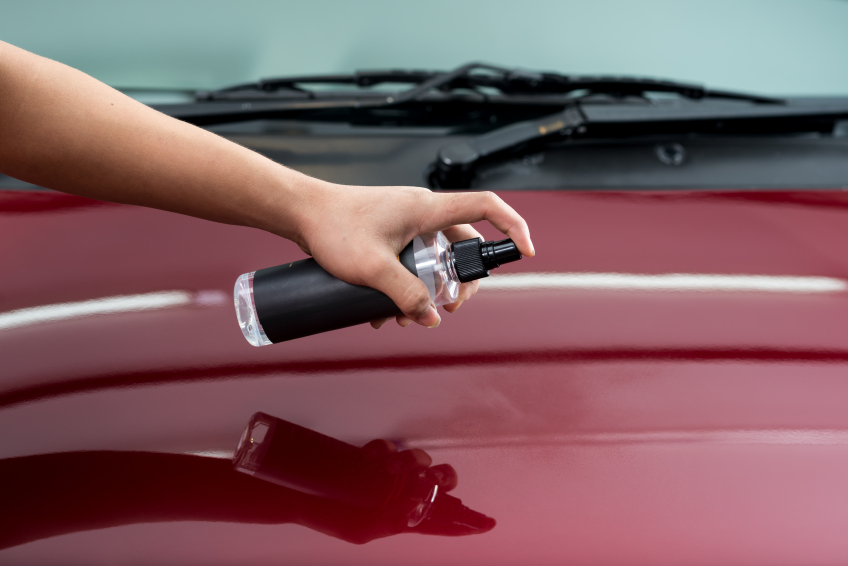
To start the process of debadging a car, you’ll want to first clean the area you’ll be working on. You can use any spray wax that’s commonly found in automotive painting shops, and use a micro fiber towel to wipe down the areas around the emblems to make sure they’re clean. If there’s any excess dirt or dust around the area where you’ll be working, you might end up scratching the paint.

To get the job done, you’ll also need a heat gun, a plastic putty knife, and a bit of polish. Adhesive remover is optional, but could speed up the process. If you don’t have immediate access to a heat gun, a hair dryer at its hottest setting could also work in a pinch. Once you’re equipped with this short list of important items, you’re ready to get started.
Heat Emblems for Easy Removal During your Career in Auto Body Repair
The first step to removing emblems is to heat the emblem itself with your heat gun. Point your heat gun directly at the emblem and slowly move it until you’ve covered the entire area. This heats up the adhesive underneath and weakens its grip.
Immediately after heating the emblem, use your plastic putty knife to begin prying the emblem from the car’s surface. Continue sliding the putty knife farther beneath the emblem until it comes completely off. If this step is difficult, you may not have heated the emblem enough. Simply remove the putty knife and reapply heat before trying again.
Removing Adhesive and Ensuring a Shiny Finish
After an emblem comes off, you’ll want to wait a couple of minutes for the now exposed adhesive to cool down. Once cooled, you should be able to pull the adhesive off using your hands. There may be a layer of adhesive left over that’s not entirely visible, but you’ll be able to feel the difference in texture on the paint. This is where adhesive remover comes in handy—you can dab a little bit onto a cotton cloth and give the area a quick wipe to make sure any stickiness is completely gone.
That’s it, you’re done! Instructors in auto body schools will teach you that most body work will leave behind small scratches in the paint’s clear coat, so you may want to apply a quick layer of polish after removing emblems to guarantee that cars are left with a shiny finish.
Want to launch your career in auto body repair?
Visit ATC for program information, or to speak with an advisor.

