3 Great Ways to Fix Scratches After Auto Detailing Training
Completing your auto detailing training opens the door to a rewarding career in maintaining and restoring vehicles to their pristine condition. One of the most common issues you’ll encounter is scratches. Whether minor or significant, scratches can detract from a vehicle’s appearance and value.
Here are three effective methods to fix scratches after your auto detailing training, ensuring your clients leave satisfied with your expert services.
1. Polishing and Buffing Using Insights From Your Auto Detailing Training
Polishing and buffing are essential techniques for addressing minor scratches.. As you were taught in automotive school, these methods work by removing a thin layer of the clear coat, smoothing out imperfections, and restoring the paint’s shine.
Tools and Materials Needed:
- Dual-action polisher
- Polishing pads (foam or microfiber)
- Polishing compound
- Clean microfiber cloths
Steps:
1. Clean the Surface: Before starting, ensure the scratched area is clean and free of dirt or debris.
2. Apply Polishing Compound: Place a small amount of polishing compound on the pad of the dual-action polisher.
3. Polish the Area: Gently work the compound into the scratched area. Keep the polisher moving to avoid damaging the clear coat.
4. Buff the Surface: After polishing, use a clean microfiber cloth to buff the area, removing any residue and revealing a smooth, glossy finish.
5. Inspect the Result: Check the area under good lighting to ensure the scratch has been effectively removed. Repeat the process if necessary for deeper scratches.

2. Touch-Up Paint
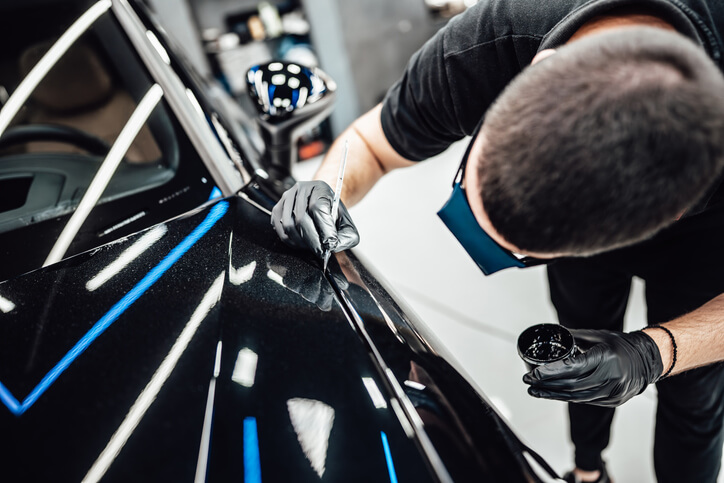
For deeper scratches that have gone through the clear coat and into the paint layer, touch-up paint is a practical solution. This method involves carefully applying paint to fill the scratch and blending it with the surrounding area, leveraging your auto detailing training.
Tools and Materials Needed:
- Touch-up paint (matched to the vehicle’s colour)
- Fine-tipped brush or applicator
- Clear coat touch-up
- Sandpaper (2000-3000 grit)
- Polishing compound
- Microfiber cloths
Steps:
1. Clean the Area: Thoroughly clean the scratched area to remove dirt, wax, or grease.
2. Apply Touch-Up Paint: Using a fine-tipped brush, carefully apply the touch-up paint to the scratch. Applying thin layers is crucial, allowing each layer to dry before adding the next.
3. Apply Clear Coat: Once the touch-up paint is dry, apply a clear coat to protect the new paint and match the surrounding surface’s gloss.
4. Sand and Polish: After the clear coat has dried completely, use fine-grit sandpaper to smooth the repaired area. Follow this by polishing with a compound to blend the repair seamlessly with the surrounding paint.
5. Buff and Inspect: Finally, buff the area with a microfiber cloth to shine and ensure the repair is not noticeable.

3. Paintless Dent Repair (PDR) for Scratches and Dents
Paintless Dent Repair (PDR) is an effective method when scratches are accompanied by dents. PDR involves manipulating the metal from the underside of the panel to remove dents without affecting the paint.
Tools and Materials Needed:
- PDR tools (rods, tabs, glue puller)
- LED light or reflection board
- Polishing compound
- Microfiber cloths
Steps:
- Assess the Damage: Determine if PDR is suitable for the damage. This method works best on minor dents where the paint is intact.
- Access the Dent: Use the appropriate PDR tools to access the underside of the dented panel.
- Manipulate the Metal: Carefully use the rods or glue puller to massage the dent from behind the panel.
- Polish the Area: Once the dent is removed, polish the area to address minor scratches and restore the shine.
- Final Inspection: Use an LED light or reflection board to ensure the repair is flawless and the scratch is no longer visible.
Do you want to kickstart your career with comprehensive automotive training?
Contact ATC Montreal for more information.


